This is what they have to say about their kits "There are no half-measures when it comes to obtaining the latest and greatest scrapbooking products - our addiction for the best in quality and supply has led us here. Between us we have the experience and creativity to provide you with the very best co-ordinated kits leaving you to unleash your creative freedom ..."
And believe me, receiving their kit was like opening a Christmas gift, not to mention the attention to detail and the kit contents. These girls have done a fantastic job and the kit is so worth the bucks you have to part with. This month the kit was filled with My Minds Eye, my FAVOURITE products EVER.... yum yum yummy products.
I have managed to churn out three double page layouts, four single page layouts and a brooch.... BUT there was still alot left and although I have combined the odd layout with some "other" paper and cardstock to show the diversity of this kit and that you are not limited in any way, I can still do more projects and haven't even touched a few of the sheets of patterned paper.
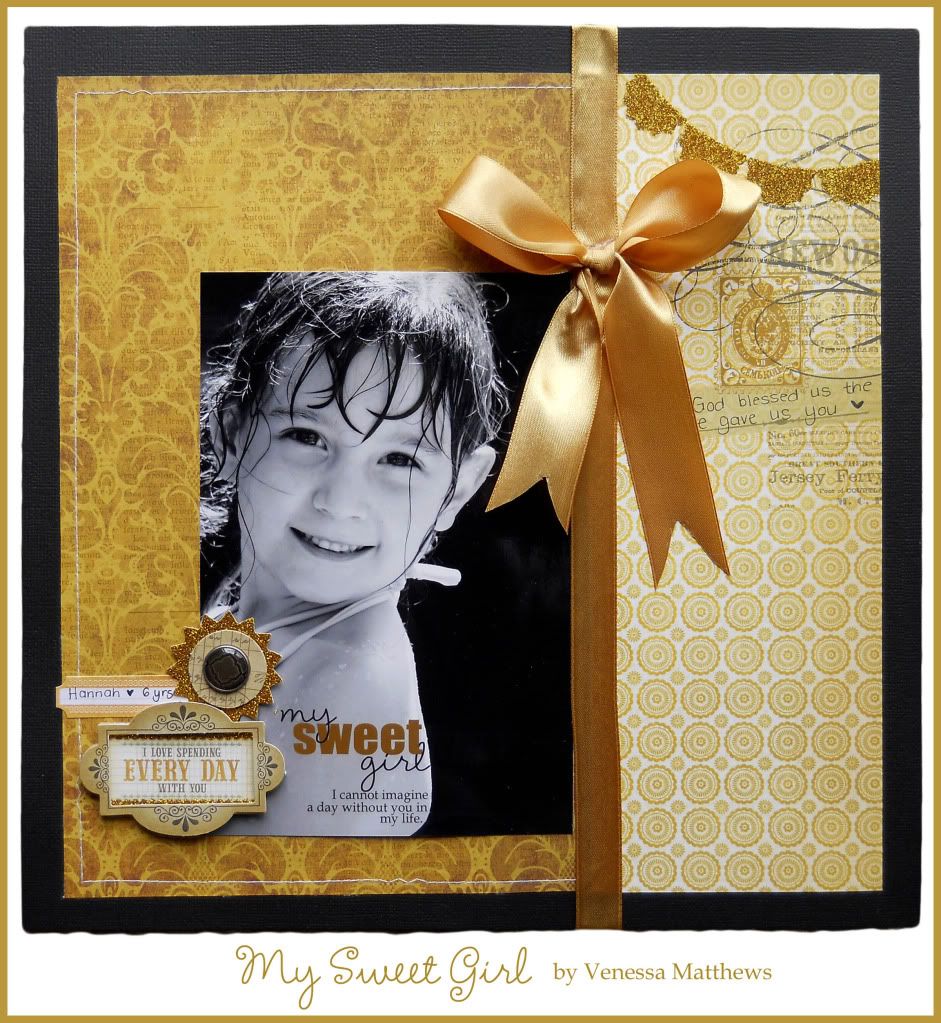
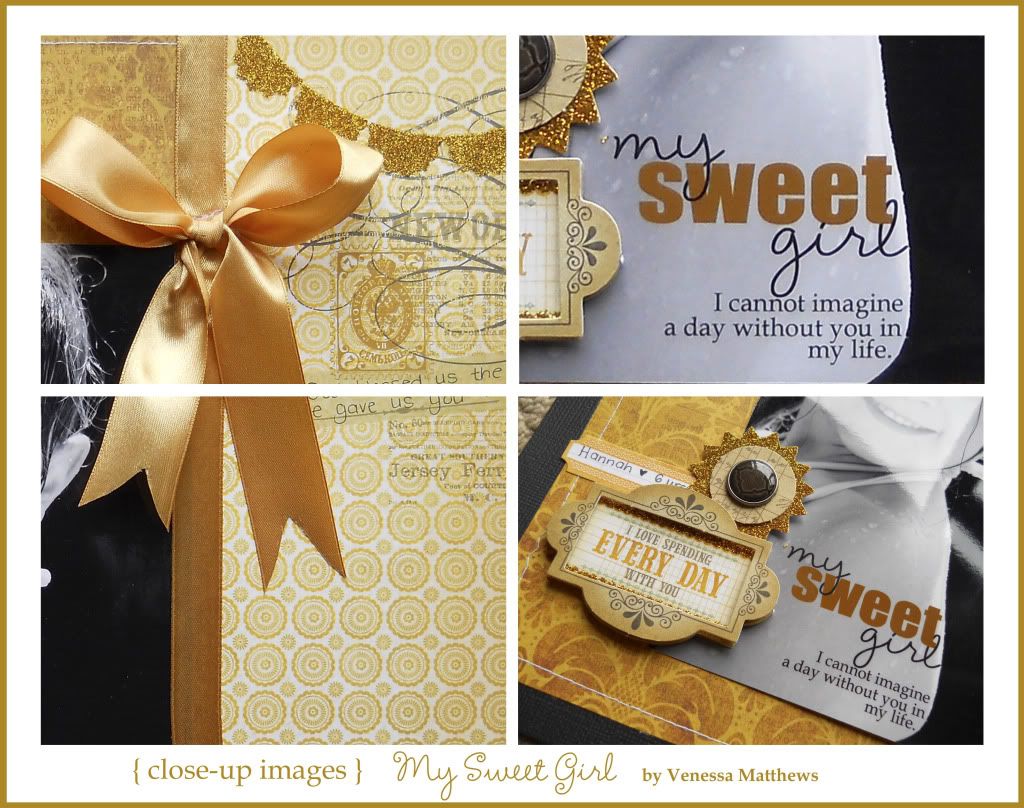
My first layout I carefully removed and re-used the ready made satin ribbon bow that was beautifully wrapped around the kit box and applied it to my layout. I LOVE as you will notice in alot of my layouts to add words and titles directly to my photos - a FREE rubon as such and you really do not need ALOT of computer skills but certainly a little skill is required. I use Photoshop Elements and each word and even each line of text is on it's own layer so that I can easily change colour, size and positioning until I am 100% happy.
I love open space in my layouts.... white space as it is called is great for balancing your designs and helping your eye move freely around your layout to focus on you photograph. BUT that does leave you alot of extra space to add a few smaller photos (for the busier style scrapbooker) and even the main photo can be broken down into two smaller landscape orientation photos. Hand journalling can also be added directly onto the circle patterned paper in the right bottom side of the layout if you want.
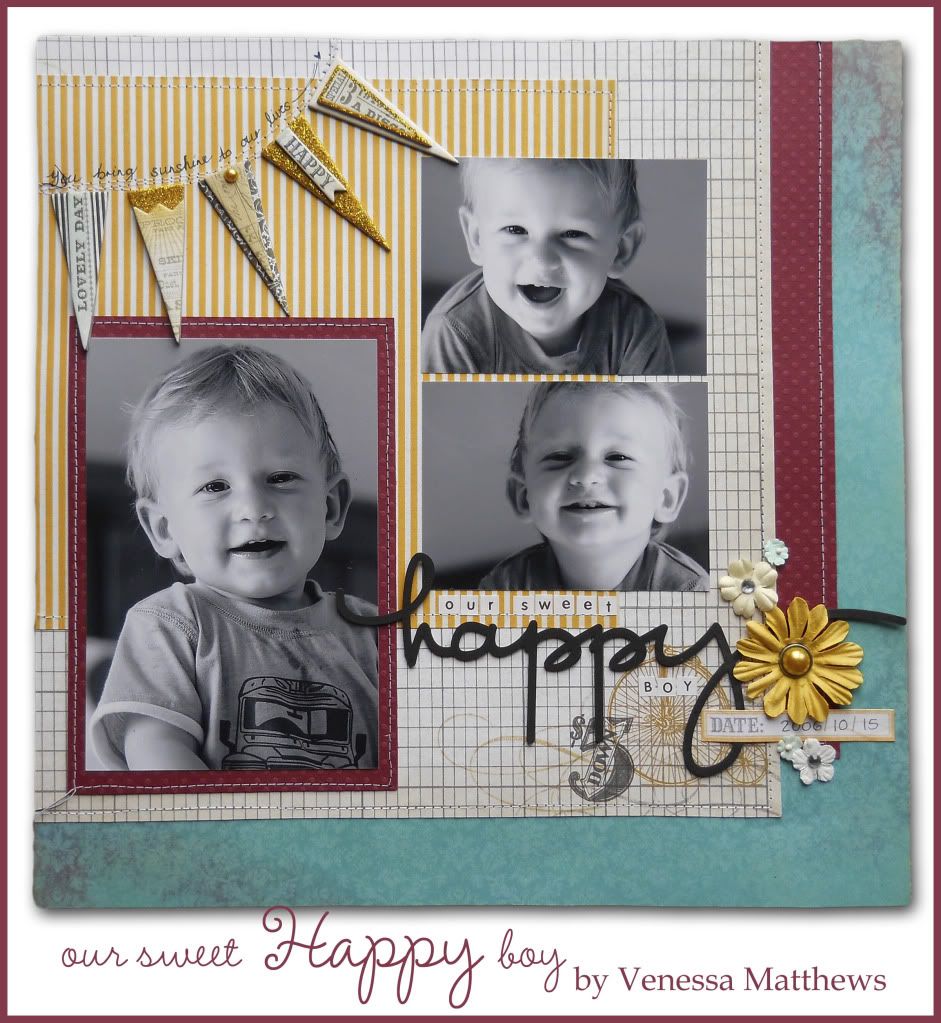
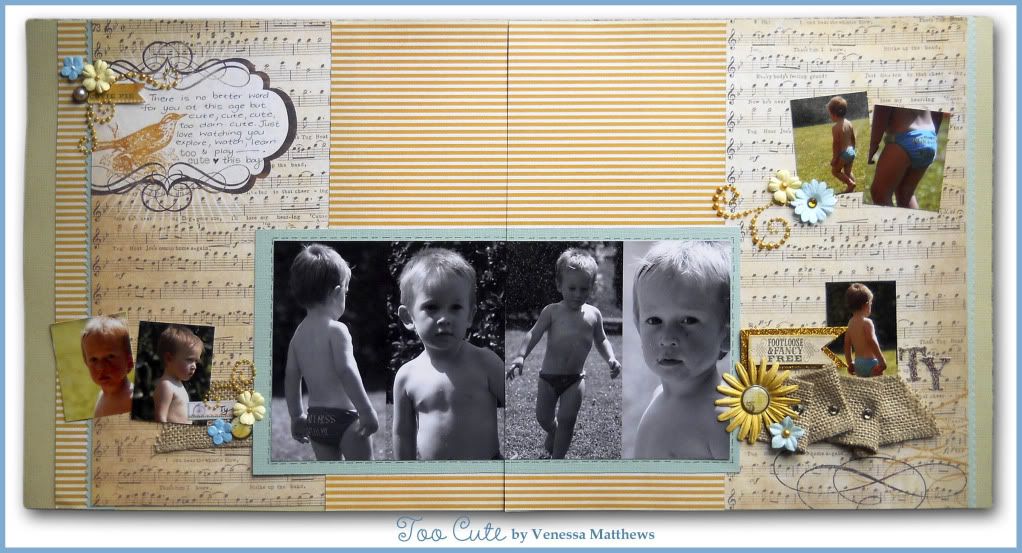
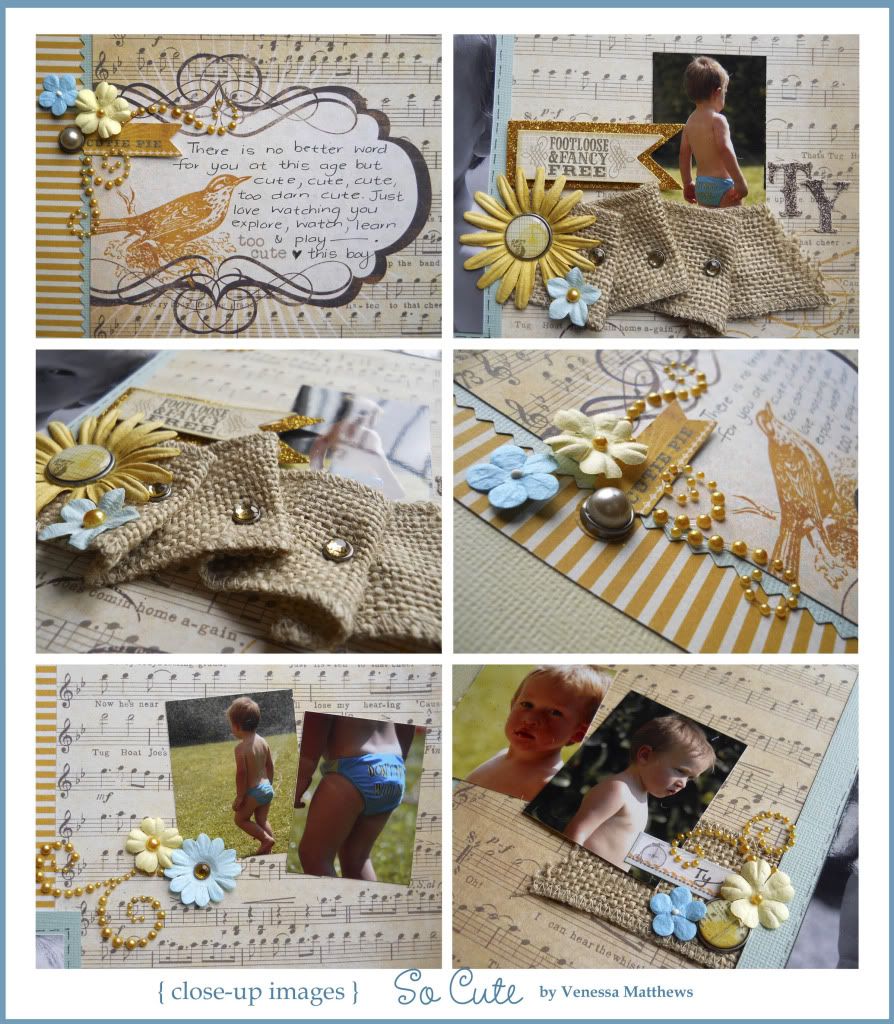
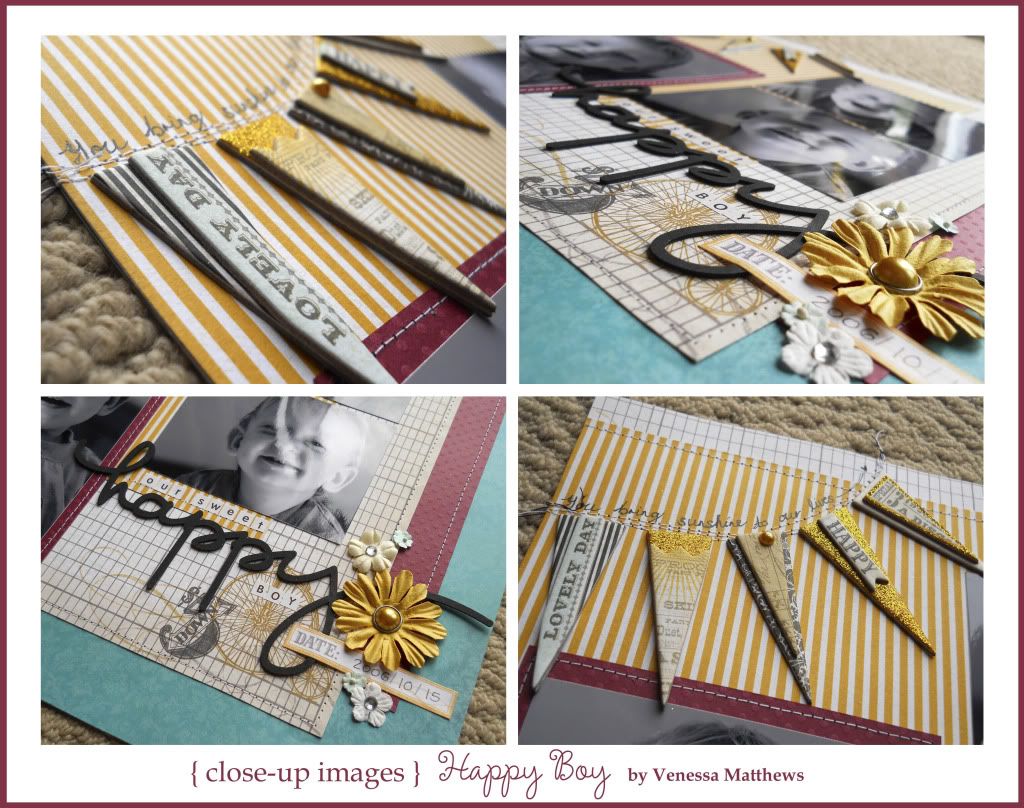
TOO CUTE...... yes that is my little Ty. Probably the best part of scrapbooking is reminiscing every time I search for photos on my computer..... can be quite depressing seeing how fast your littlest is growing. Ty is soon to be six years old. If you have ever followed my "style" of scrapbooking, you will notice that I am not BIG on photo mounting my photographs but sometimes I like to use it to help bring the focal point together and to "repeat" as such another colour. NOT in the kit, but you will see how I added flowers again to repeat the colours and bounce them around my layout. I choose to "breakup" the pearl swirls as you will see (yum LOVE these) and used the burlap in a "folded" method attaching with three blingy brads.....
This need not just be yellow, browns and turquiose..... here I added a Kaiser Kraft paper and maroon textured cardstock... I also added from my own supplies the "happy" cardstock title and blooms. Another favourite of mine is machine stitching on my layouts.... love the texture and added "homemade" look that this shows and again is a free embellishment as such. Notice how I have used the chipboard triangles to make a "bunting" for my layout.... using my machine to stitch the "string" from which they hang. Oh and hey.... I MOUNTED a photo.... which like mentioned before has repeated my maroon cardstock and helped to draw the eye to the larger photo as the ocal point of this layout.

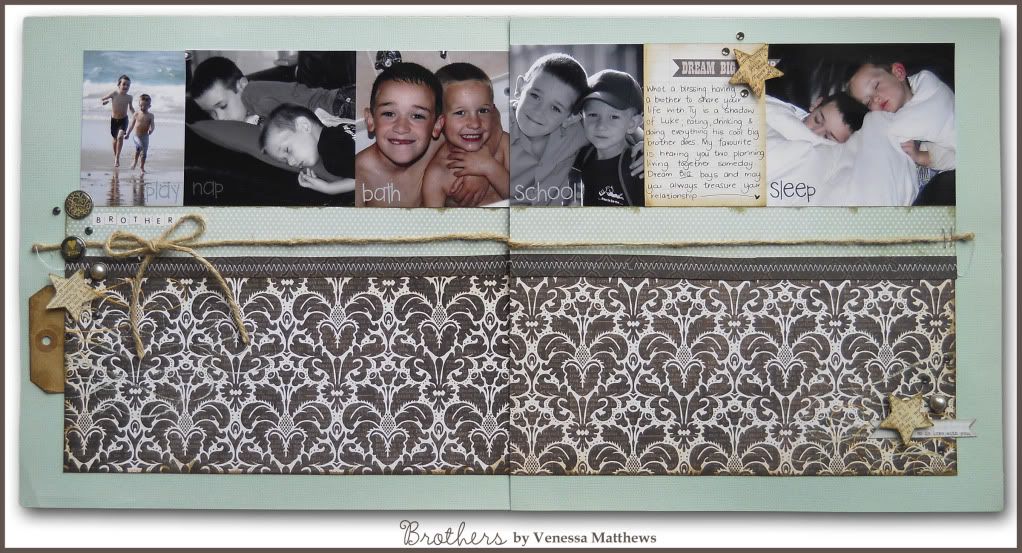
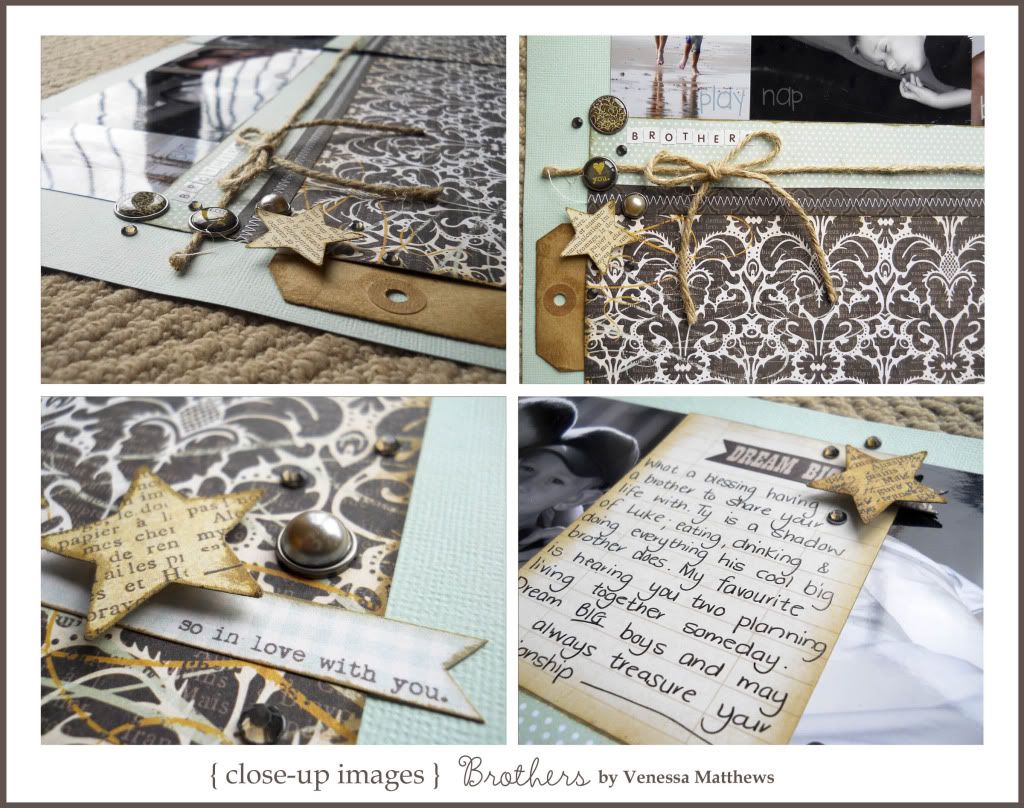
I just LOVE my boys..... my journalling tells how they plan to "live" together oneday.... just love that. THIS layout feels like it came from a totally different kit - right? There is no sign of the bling, glitter and yellow that may overtake your senses when you first open this kit. This is a typical Venessa layout... straight lines, graphic with a strong triangle (follow the three stars) and a mix of colour and black and white photos (my favourite trick when combining photos from different occassions and time periods that have clashing colours to my papers). My journalling block is the PACKAGING that was part of the swirly pearls embellishment pack.... I inked the edges somewhat. I LOVE kraft and hessian.... and added a kraft tag and hessian twine from my own supplies. Stars punched out have been pop dotted to add dimension.
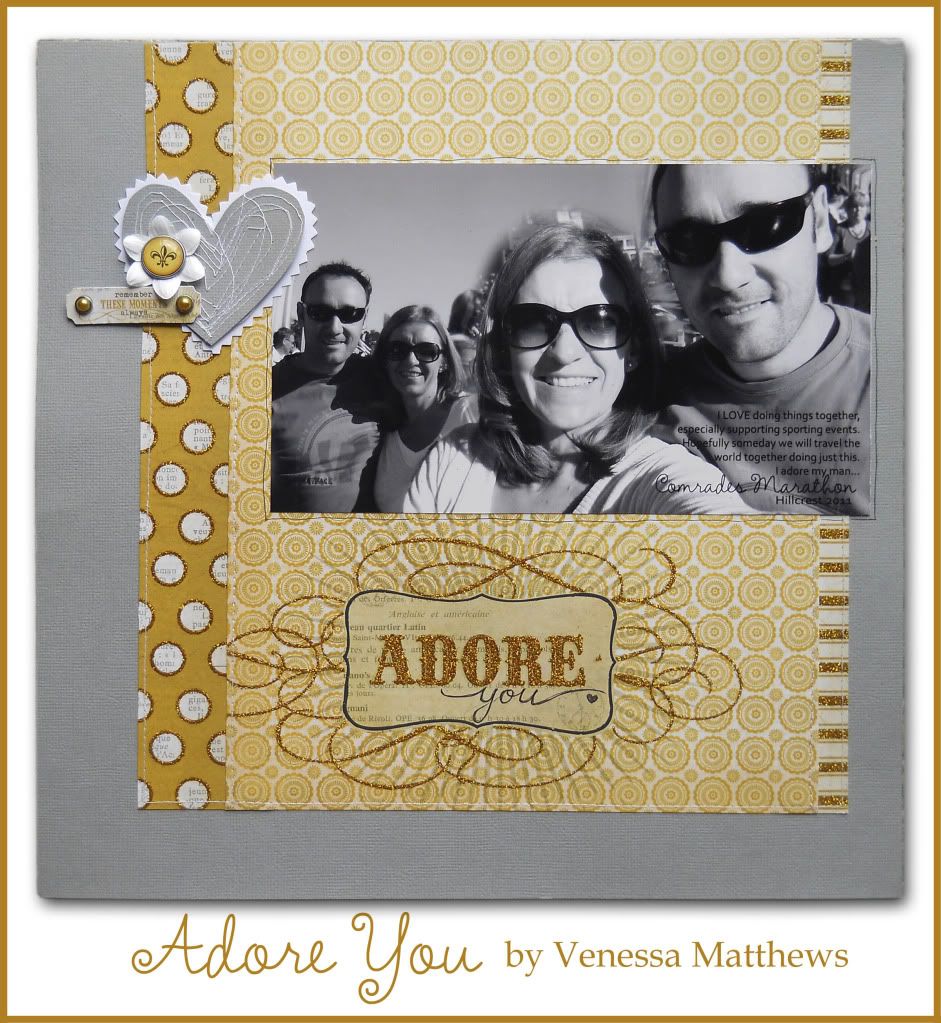
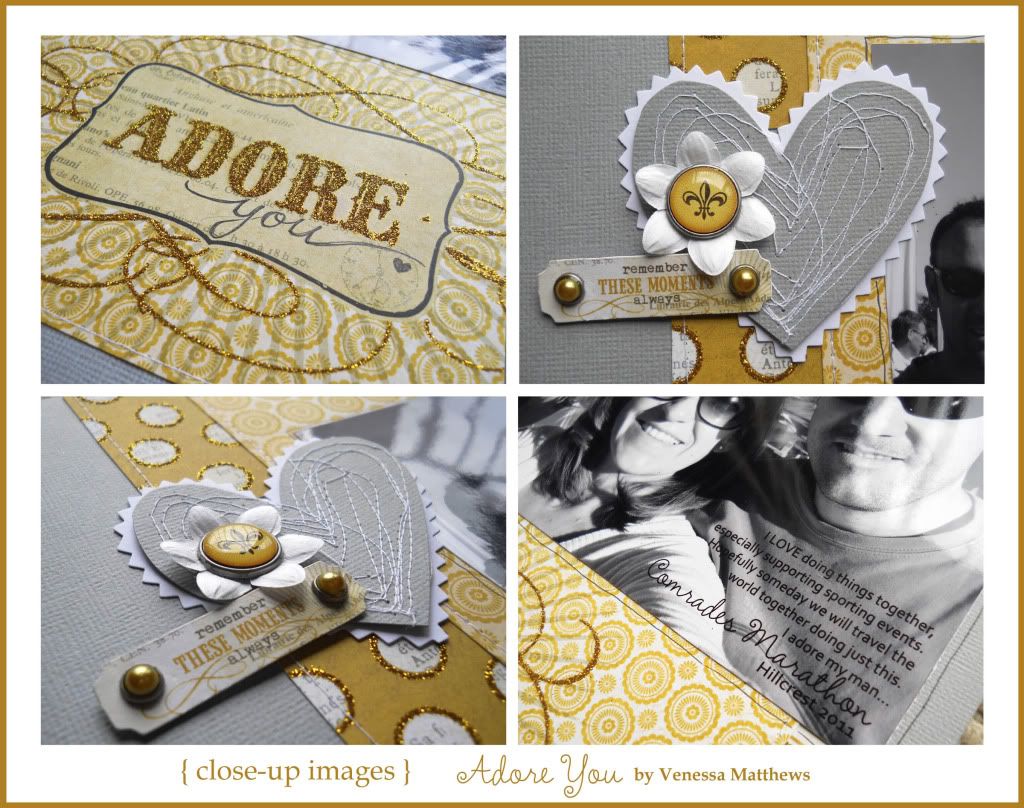
FIFTEEN years of marriage is quite something.... and definately worth adding my man into a layout for. I sure adore him.... and hey this layout is SPECIAL ok - because I am just NEVER in any. Yellow and grey combined is so fashionable and I LOVE the combination. I have hand drawn the "you" into my title; created the unique heart embellishment by machine stitching "CRAZY" style over it and layered with a pinking scissors edge. The grey cardstock and white flower is from my own supplies.The photo I created by layering and collaging two different photos into one long odd shaped photo and again added journalling directly onto my photo digitally. Hard to see, but I have machine stitched along the edges of the three patterned papers edges but hand doodled a black line around my photograph.
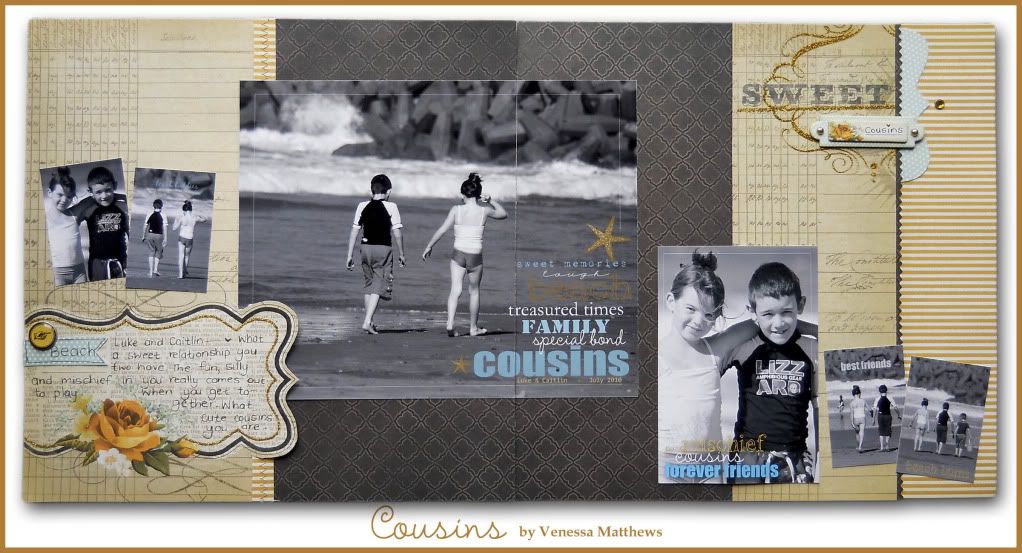
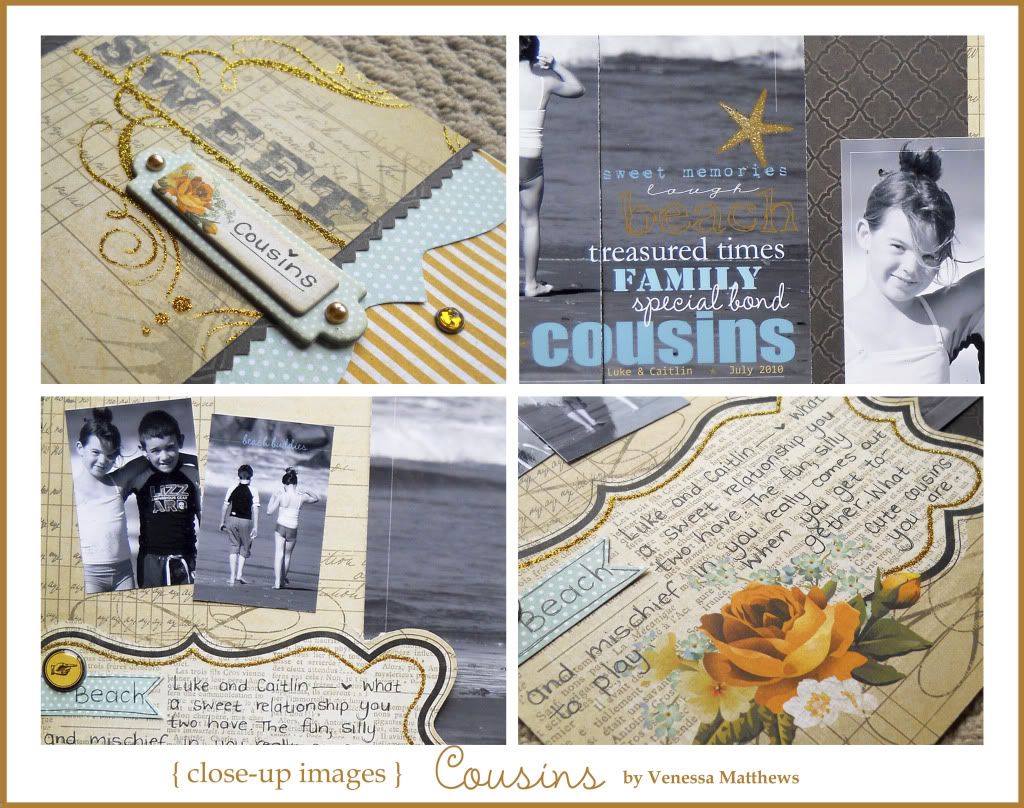
Cutting a patterned paper vertically and splitting across two pages is a great way to split paper with two large design elements across a two pager. I used a craft knife to slice the large journalling for my main photograph to "slide" underneath it. AGAIN.... using layers and layers of different fonts and words I added embellishments to my photographs. And the yummiest part of this layout for me has to be the coloured words onto the black and white photos... will be doing alot more of that.
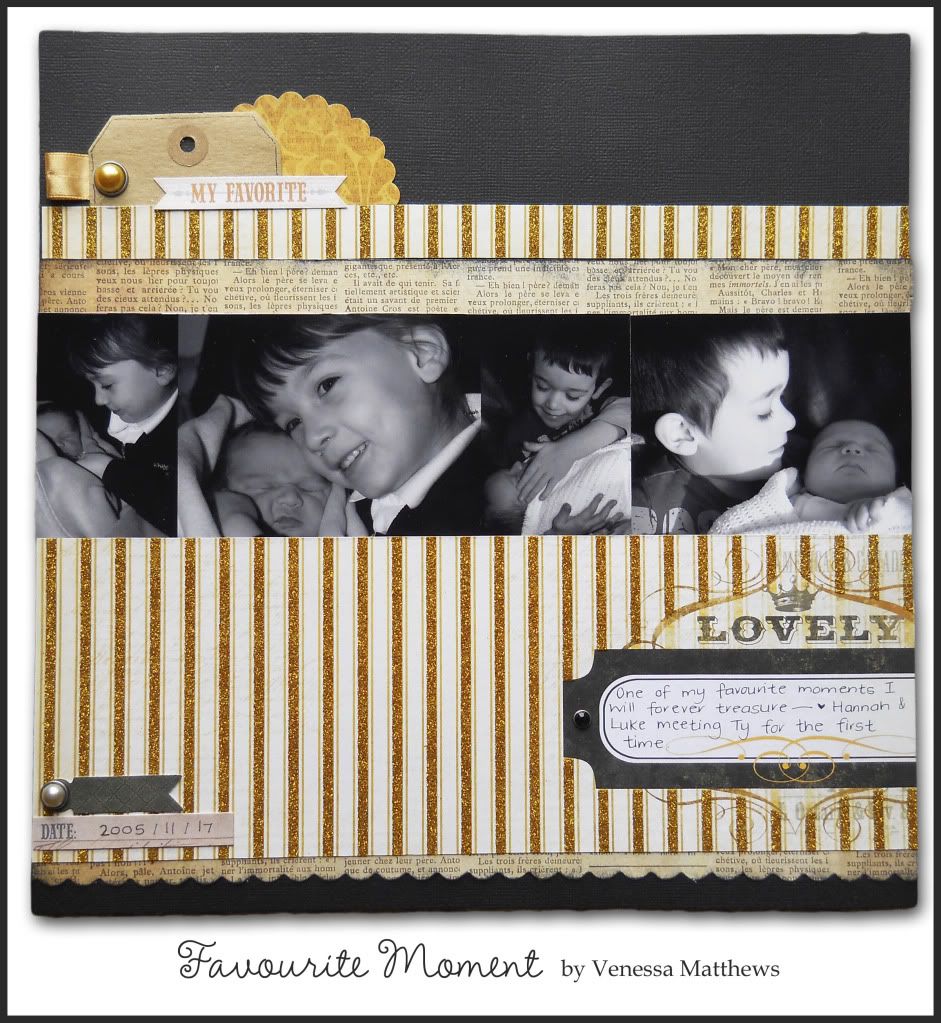
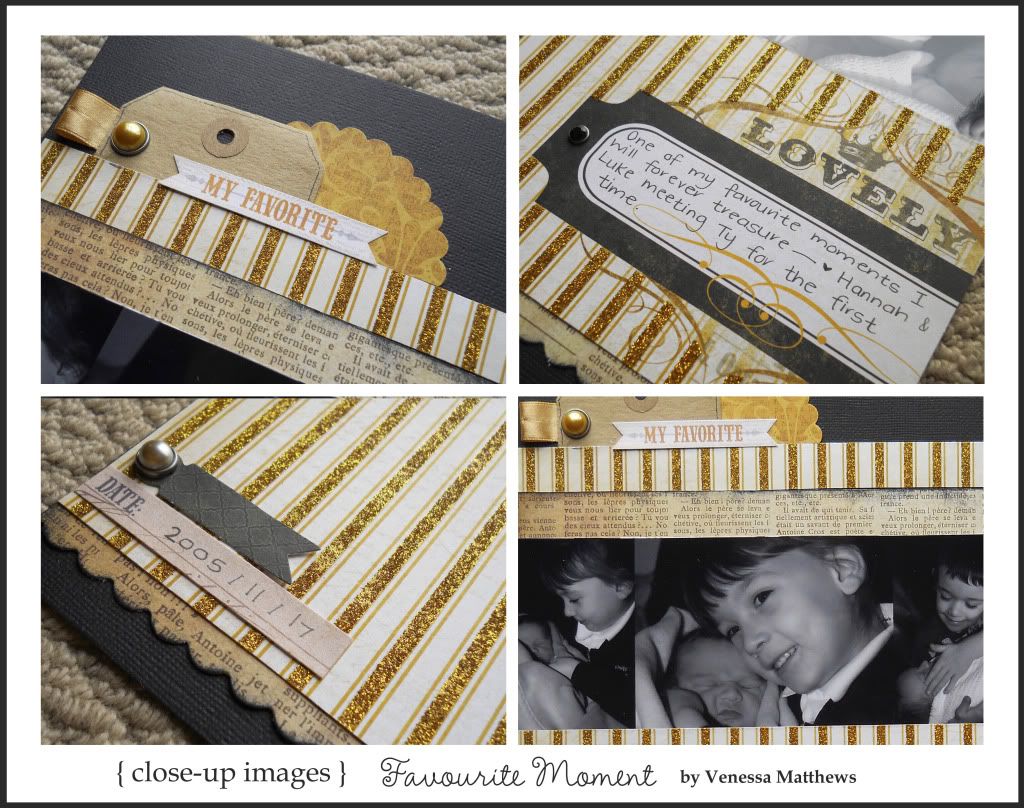
Another very QUICK and simple layout.... very little needed..... from my own supplies the kraft tag and scallop punch and circle punch used. I reckon this layout could be thrown together in half an hour and can SO DEFINATELY with some clever planning and cutting of the gold stripe paper be stretched across as a double pager. Paper and colour combination fit for my LITTLE PRINCE meeting his siblings for the first time.
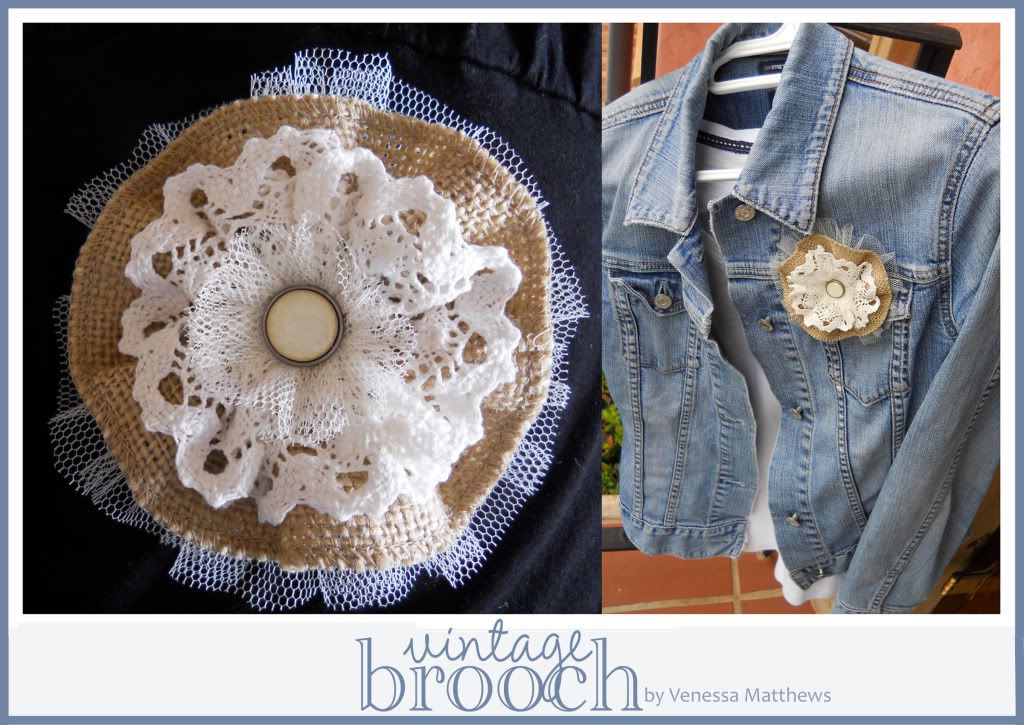
LASTLY and definately not leastly..... combine the burlap trim with some DELICIOUS white cotton lace and tulle... the white brad made a stunning brooch centre. LOOOOOVE the look combined onto a denim jacket. YUM is all I have so say....
THANK YOU to Sophia Allison and Tracy Gardiner for inviting me to guest design..... you girls have done a sterling job with your kit club and your LOVE for this hobby SHOWS... may it grow and grow and grow. Have a blessed day WHEREVER in the world you are today :)


3 comments:
Thank you for designing with our kit, they are all beautiful...
Very nice design of the scrap book. So nice.
best saree shop chennai
That is such a cute card. I blog about pure silk sarees . Hope you find it interesting.
Post a Comment